
1. Open your sump pit.
2. Remove your old sump pump. Disconnect the discharge pipe from your existing sump pump.
3. *Optional* Replace your check valve. If your check valve could use a replacement, replace it using PumpSpy’s Clear Quiet Sump Pump Check Valve – it has a clear check valve body so that water movement is visible, and the unique spring-loaded flapper eliminates the water hammer noise of standard check valves.
4. Place the new pump into your sump pit. Connect the discharge pipe to the new pump, but leave the discharge pipe disconnected from the discharge system for now.
5. Modify the PVC to the required length. Measure the distance between the pipe connected to the new sump pump and the remainder of the discharge pipe. If there is excess pipe, use a hacksaw to remove the appropriate amount. If there is a gap, cut additional PVC to length and add it to the discharge pipe using a coupling.
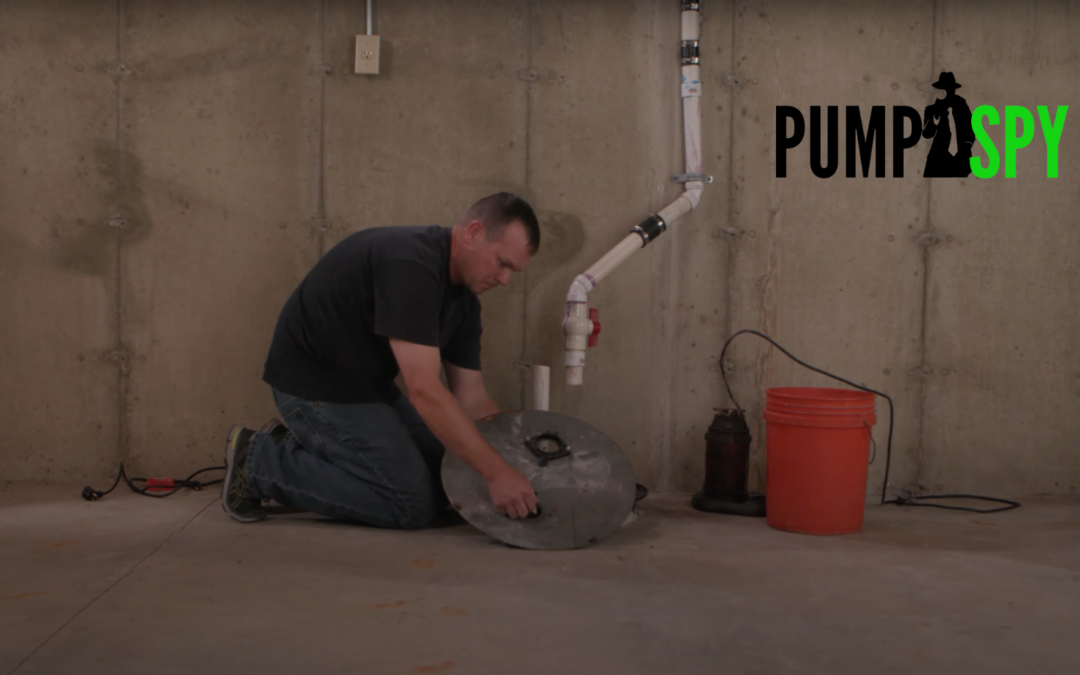
6. Feed wires through your basin cover. If your sump pit has a basin cover, feed the cables from the pump and the float activation switch through the desired hole in your cover. Secure your basin cover over the sump pit. The pipe connected to the new sump pump goes through the designated hole in the basin cover.
7. Connect the discharge pipe. Using a coupling, connect the discharge pipe to the remainder of the discharge system.
8. Plug it in. Plug the sump pump and float activation switch into AC power.
PumpSpy has multiple sump pump solutions that can be used; 1/2 HP Primary Pump, SmartPump, and SmartPump Combo System. If you are using one of PumpSpy’s Smart Outlet (it may be included in the system you choose), then be sure to plug it into AC power and connect it to your home’s wifi network. Your sump pump and high water sensor will then be plugged into the Smart Outlet. Download the PumpSpy app and finally, your SmartPump is all set up to keep your basement dry! For more information about PumpSpy’s innovative smart home sump pump technologies, call 1-833-PUMPSPY.